Many people delay going solar because they imagine the installation is complicated. It is not. With an experienced team, most homes in Bargarh are installed in a few days.
Key Takeaways
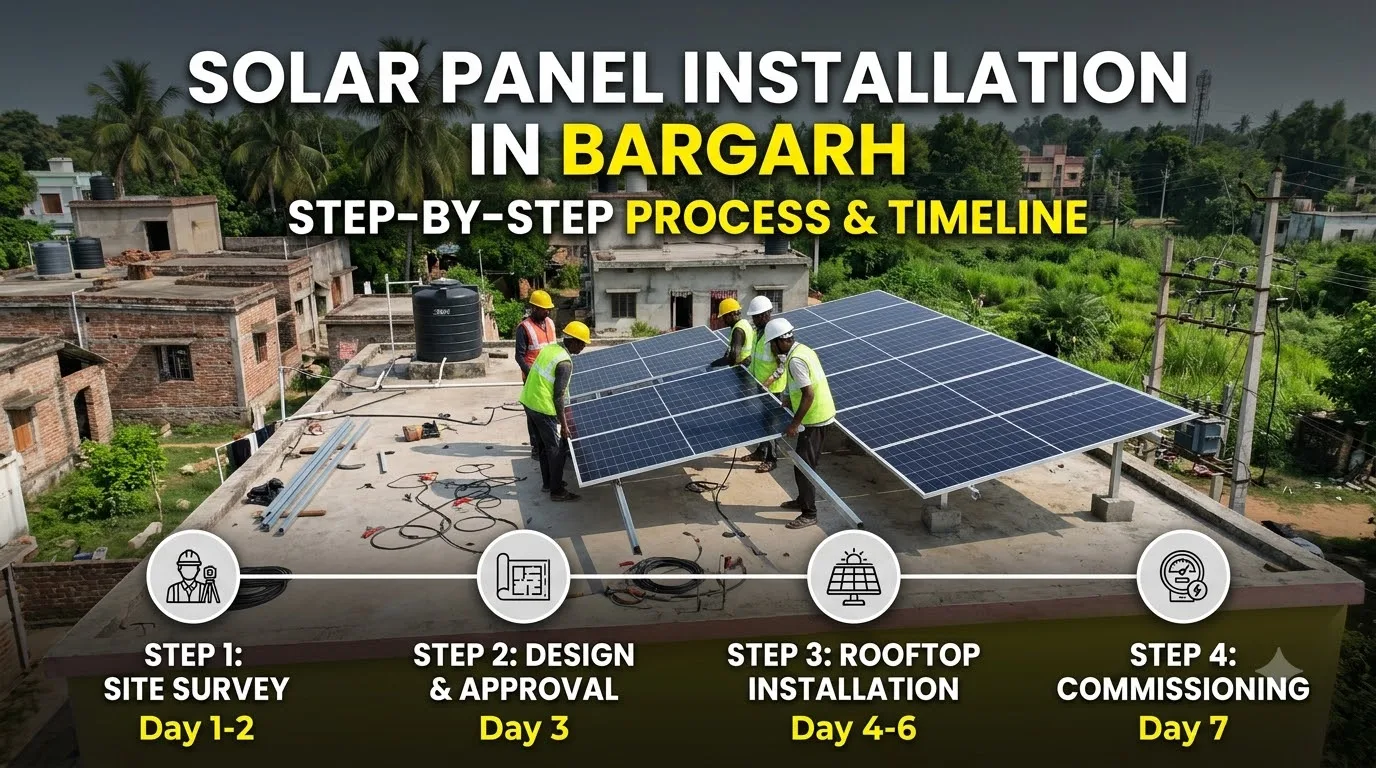
- A typical home installation in Bargarh is physically completed in 2–5 days, with approvals and net-metering adding a few more weeks.
- The six stages are survey, design and quote, approval, installation, net-metering and commissioning, followed by handover and support.
- Good installation quality — structure, wiring, earthing — decides how safe and productive your plant is for 25 years.
- Ask for a written scope, warranty and staged payment plan before work starts.
Before installation: what you need to prepare
- Keep your last 6–12 electricity bills and consumer number ready
- Make sure the terrace is accessible and clear of loose items
- Know the location of your water tank, staircase head-room and any future construction plans
- Decide whether you want an on-grid, hybrid or off-grid system
- Keep Aadhaar, bank details and roof ownership proof ready if you are applying for subsidy
Detailed timeline: day-by-day view
| Stage | Activity | Typical time |
|---|---|---|
| 1. Site survey | Roof measurement, shadow study, bill analysis | Day 1–2 |
| 2. Design & quote | Layout, string design, cost and subsidy plan | Day 2–3 |
| 3. Approval | Portal registration, DISCOM feasibility | 1–2 weeks (varies) |
| 4. Structure fabrication & fixing | Foundation pedestals, galvanised frames | Day 1–2 on site |
| 5. Panel & inverter installation | Panel mounting, DC/AC wiring, earthing, lightning arrestor | Day 2–3 on site |
| 6. Testing | Insulation, polarity, voltage and safety checks | Day 3–4 |
| 7. Net-metering & inspection | Bi-directional meter, DISCOM inspection | 1–3 weeks (varies) |
| 8. Commissioning & handover | Switch-on, demo, documents, monitoring app | Same day |
Site survey: what our engineer checks
- Usable roof area — excluding staircase, water tank, vents and parapet shadow
- Roof strength and type — RCC, tin or asbestos, and waterproofing condition
- Shadow analysis — morning and evening shadows from trees, buildings and overhead structures
- Orientation and tilt — ideally south-facing with 15–25° tilt in Odisha
- Electrical condition — meter, MCB, earthing, sanctioned load and phase
- Cable route — shortest, safest route from roof to inverter and meter
Structure and mounting: the foundation of a good plant
The mounting structure holds your panels for 25 years against wind, rain and heat. We use hot-dip galvanised or aluminium frames of proper thickness, fixed with anchor bolts and concrete pedestals where needed. Panels are placed with adequate clearance for cleaning and air flow, and the structure is designed to handle high wind speeds. A weak or thin structure is a common failure point in cheap installations, so it is worth asking for the material and thickness in your quote.
Electrical work: wiring, protection and earthing
- UV-resistant DC cables with correct cross-section to avoid heating and loss
- DC distribution box (DCDB) with surge protection and fuses
- AC distribution box (ACDB) with MCB and surge protection
- Separate earthing for panels, structure and inverter, with chemical or copper earthing as required
- Lightning arrestor for protection in thunderstorm-prone months
- Cable trays or conduits so that wiring is tidy, protected and easy to inspect
Net-metering and commissioning
After installation, your installer applies for net-metering with the DISCOM. An official inspects the plant and a bi-directional meter replaces your existing meter. Once the plant is commissioned, your solar generation and grid exports are recorded, and your bill is based on the net units. In Western Odisha this process is handled with TPWODL. Delays are usually due to missing documents or pending inspection slots, which is why a vendor with local experience is valuable.
What you should receive at handover
- Commissioning report and net-metering approval copy
- Warranty cards for panels, inverter and structure
- Single-line diagram and system capacity details
- Invoice with GST and itemised specification
- Monitoring app or inverter login details
- Cleaning and safety instructions and service contact numbers
Safety rules every installer must follow
Rooftop work should always be done with fall protection, insulated tools and trained staff. Panels must never be wired live, and every system should be tested and earthed before switch-on. If your installer does not talk about safety and earthing, consider it a warning sign.
After installation: first-year checklist
- Check the inverter display daily for the first week
- Note the daily units generated and compare with expected values
- Clean panels every few weeks
- Review your first two electricity bills under net-metering
- Book the annual maintenance visit before the first year ends
Installing solar in Sambalpur and nearby towns
The same process applies in Sambalpur and across Western Odisha. Our team travels from Bargarh for site surveys and installation. Visit our pages for solar panel installation in Sambalpur and solar panel installation in Bargarh.
After installation
We guide you on cleaning and monitoring, and the subsidy is processed after inspection. Read about our solar panel installation service or visit our installation in Bargarh page.
Frequently Asked Questions
The physical installation of a residential system usually takes 2–5 days. Approvals and net-metering add some more time.
Someone should be present on the first day and at handover; the team handles everything else.
Solar installation in Bargarh for a home usually takes 2–5 days on site. Solar panel installation in Bargarh also needs approvals and net-metering, which add some weeks.
Yes. Special mounting structures are used for sloped and sheet roofs. The design is checked for strength and wind resistance.
Only for a short time when the inverter is connected to your distribution board. We plan it so that disruption is minimal.
Check for neat wiring, proper earthing, a sturdy structure, labelled boxes, and complete documents. Our team is happy to explain every part to you.